

How to Generate Realistic Images with AI: A Complete Beginner to Advanced Guide
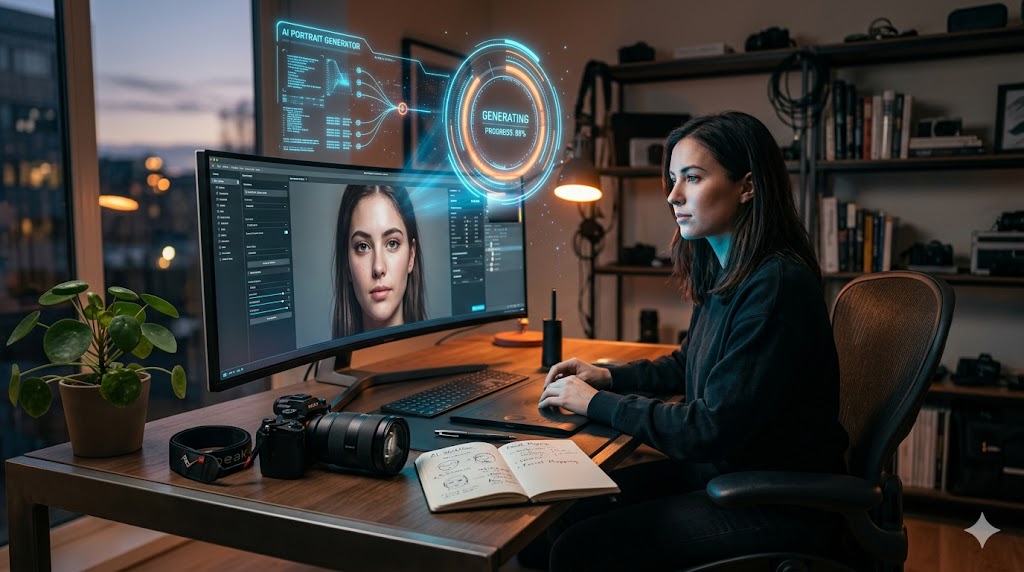
AI image generation has completely changed the way digital creators, marketers, designers, and even beginners produce visuals. What once required expensive cameras, professional photoshoots, lighting setups, and editing skills can now be done with a simple text prompt. But there is a big difference between “AI-looking images” and truly realistic, photorealistic results.
If you’ve ever used AI tools and ended up with images that look slightly fake, overly smooth, or strangely distorted, you are not alone. The secret is not just the tool—it’s how you communicate with it. In other words, it’s all about prompt engineering, visual understanding, and learning how real-world photography works.
This guide will walk you through everything you need to know to generate realistic images with AI, from beginner basics to advanced professional-level techniques.
Understanding What “Realistic AI Images” Actually Mean
Before learning how to create realistic images, it’s important to understand what realism means in AI generation. A realistic image is not just a high-resolution picture. It should feel like it was captured by a real camera in a real environment.
True realism includes:
Natural lighting and shadows
Correct human anatomy and proportions
Real-world textures like skin pores, fabric, wood, metal
Depth of field and camera focus effects
Emotionally believable expressions and scenes
AI models are trained on millions of images, but they still rely heavily on your instructions. If your prompt is vague, the output becomes generic or artificial-looking.
Choosing the Right AI Tool for Realism
Not all AI tools are equal when it comes to realism. Some are better for artistic styles, while others excel at photorealism.
Popular tools include:
MidJourney – Excellent for cinematic, artistic realism with strong lighting control
DALL·E – Great for balanced realism and creative interpretation
Stable Diffusion – Highly customizable and ideal for professional-level control
Adobe Firefly – Strong for commercial-safe, clean realistic images
If your goal is ultra-realistic photography-style images, Stable Diffusion and MidJourney are often the top choices. However, the tool alone is not enough—you need the right prompting strategy.
The Secret of Realistic AI Images: Prompt Engineering
The biggest mistake beginners make is writing simple prompts like:
“a man standing in a city”
This produces generic and sometimes unrealistic results.
Instead, realistic AI images require detailed, descriptive prompts that mimic real photography language.
A strong realistic prompt should include:
Subject description
Environment or background
Lighting conditions
Camera type or lens style
Mood or atmosphere
Level of detail
For example:
“A 30-year-old man wearing a black leather jacket standing in a rainy Tokyo street at night, neon reflections on wet asphalt, cinematic lighting, shallow depth of field, shot on 85mm DSLR lens, ultra realistic, high detail skin texture”
This kind of prompt tells the AI exactly how to “think like a camera.”
Lighting: The Most Important Factor in Realism
Lighting is what separates fake-looking AI images from realistic photography-style visuals. In real photography, lighting creates depth, emotion, and texture.
When writing prompts, always mention lighting style such as:
Natural daylight
Golden hour sunlight
Soft studio lighting
Neon lighting for night scenes
Overcast cloudy lighting for soft realism
For example, golden hour lighting creates warm tones and long shadows, making portraits feel cinematic and natural. On the other hand, harsh midday lighting can create realism but also stronger contrast.
If your AI image looks flat or artificial, 90% of the time it is a lighting issue.
Camera Language: The Hidden Trick for Hyper-Realism
One of the most powerful techniques in AI image generation is using photography terminology. AI models understand camera-related words because they are trained on real photographic data.
Try including terms like:
Shot on DSLR or mirrorless camera
35mm or 85mm lens
Shallow depth of field
Bokeh background blur
High ISO grain texture
Rule of thirds composition
For example:
“portrait shot on Canon EOS R5, 85mm lens, shallow depth of field, soft bokeh background”
This makes the AI simulate real-world camera behavior, which dramatically improves realism.
Avoiding Common Mistakes That Make AI Images Look Fake
Even with good tools, many users still get unrealistic results because of small mistakes.
Some common problems include:
Overly smooth skin without texture
Extra fingers or distorted hands
Unnatural eye reflections
Plastic-like lighting effects
Over-saturated colors
To avoid these issues:
Always include “high detail skin texture” in portraits
Use “natural imperfections” or “realistic skin pores”
Avoid overly broad prompts like “perfect human”
Keep descriptions grounded in real-world photography
Another important trick is using negative prompts (especially in Stable Diffusion), such as:
“blurry, deformed, extra limbs, unrealistic, cartoon, low quality”
This helps filter out unwanted AI artifacts.
Building a Realistic Scene Step by Step
Instead of writing everything in one messy sentence, think like a director building a scene.
First, define the subject:
Who or what is in the image?
Then define the environment:
City, nature, indoor studio, etc.
Next, define lighting:
Golden hour, neon, softbox, etc.
Finally, add camera style and detail:
Lens, depth of field, realism level.
When combined properly, the AI produces images that feel like real photography rather than digital art.
Advanced Techniques for Professional Results
Once you are comfortable with basic prompting, you can move into advanced realism techniques.
One powerful method is using style blending, where you combine realism with cinematic direction. For example:
“documentary photography style, cinematic tone, ultra realistic street scene, emotional storytelling”
Another technique is referencing real-world photography styles such as fashion photography, wildlife photography, or architectural photography.
You can also improve results by iterating—generating multiple versions and refining prompts step by step rather than expecting perfection in one try.
Post-Processing: Final Touch for Realism
Even the best AI images can benefit from light editing. Tools like Photoshop or Lightroom can enhance realism further.
Adjustments may include:
Slight contrast correction
Color grading for cinematic tone
Adding subtle film grain
Sharpening important details
Fixing minor artifacts
This step bridges the gap between AI generation and professional photography.
Final Thoughts
Generating realistic images with AI is not about luck—it is a skill. The more you understand photography, lighting, composition, and prompt engineering, the better your results become.
Think of AI as a powerful camera that only responds to how well you describe the scene. When your prompts become more detailed, structured, and realistic in photography terms, the output shifts from artificial-looking images to stunning, lifelike visuals.
With practice, you can create images that look like they were captured in real studios, real streets, and real moments—all without ever picking up a camera.
Leave a Reply