

How to Use AI Image Generation Tools for Beginners (Step-by-Step Guide 2026)
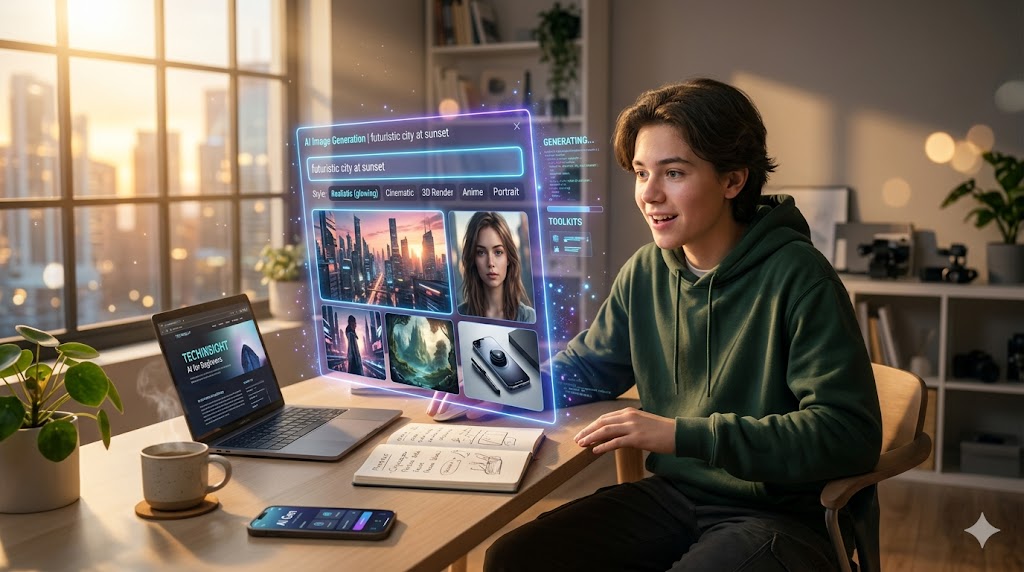
Artificial Intelligence has changed the way we create visual content. Today, you don’t need to be a professional designer or illustrator to produce high-quality images. With AI image generation tools, anyone can turn simple text into stunning visuals within seconds. Whether you are a content creator, blogger, marketer, student, or business owner, AI image tools can help you create eye-catching graphics without expensive software or technical skills.
But if you are a beginner, the process may look confusing at first. What tool should you use? How do you write prompts? Why do some images look amazing while others look strange? This guide will explain everything in a simple, human way so you can start creating AI images confidently.
Understanding AI Image Generation in Simple Words
AI image generation is a technology where you type a description (called a “prompt”), and the AI creates an image based on your words. For example, if you write:
“A futuristic city at sunset with flying cars and neon lights”
The AI will generate a visual interpretation of that scene.
These tools are trained on millions of images and learn patterns like shapes, colors, textures, lighting, and artistic styles. Popular tools include systems like DALL·E, Midjourney, and Stable Diffusion-based platforms. Each tool has its own style, but the core idea remains the same: text in, image out.
Step 1: Choosing the Right AI Image Tool
Before creating images, you need to pick a tool. Beginners often feel overwhelmed because there are many options, but you don’t need to try everything at once.
Some tools are designed for simplicity, while others are more advanced. If you are just starting, choose a tool that offers a clean interface and free credits or trial access. This helps you practice without pressure.
When selecting a tool, focus on:
- Ease of use
- Image quality
- Speed of generation
- Style options (realistic, cartoon, artistic, etc.)
Once you get comfortable, you can explore advanced tools with more customization features.
Step 2: Learning the Basics of Prompts
The most important part of AI image generation is the prompt. A prompt is simply the instruction you give to the AI. The better your prompt, the better your image.
A weak prompt might be:
“A dog”
A strong prompt would be:
“A golden retriever puppy playing in a sunny park, ultra-realistic, soft lighting, shallow depth of field, cinematic style”
You can see the difference. The second one gives the AI more details, which helps it create a more accurate and beautiful image.
A good prompt usually includes:
- Subject (what you want to see)
- Environment (where it is)
- Style (realistic, cartoon, digital art, etc.)
- Lighting (sunset, neon, soft light, etc.)
- Mood (happy, dark, cinematic, peaceful)
Step 3: Start with Simple Prompts First
As a beginner, don’t try overly complex prompts. Start small and slowly improve.
Try basic ideas like:
- “A mountain landscape at sunrise”
- “A futuristic robot in a city street”
- “A cozy coffee shop interior”
Once you see how the AI responds, start adding more detail. This helps you understand how each word changes the image.
Step 4: Experiment with Styles and Variations
One of the best things about AI image tools is that you can create multiple styles from the same idea. For example, you can generate:
- Realistic version
- Anime style version
- 3D illustration version
- Watercolor painting style
- Cinematic photography style
This is very useful for designers, bloggers, and marketers because it gives creative freedom without extra cost.
You can also re-run the same prompt multiple times. Each time, the AI will produce a slightly different result. This helps you explore more creative outcomes.
Step 5: Understanding Prompt Structure (Advanced Beginner Tip)
Once you are comfortable, you can improve your results by structuring your prompt properly.
A simple structure you can follow is:
Subject + Action + Environment + Style + Details
For example:
“A young woman reading a book (subject + action) in a cozy library (environment), cinematic lighting, ultra-realistic style, shallow depth of field, warm tones (details).”
This structure makes your prompt clearer and more powerful.
Step 6: Common Mistakes Beginners Should Avoid
Many beginners don’t get good results because of a few simple mistakes:
One common mistake is using very short prompts. The AI needs detail to understand your idea properly. Another mistake is adding too many conflicting instructions, like mixing cartoon and hyper-realistic styles in one prompt.
Also, avoid expecting perfect results on the first try. AI image generation is a creative process. You may need to adjust your prompt several times before getting the perfect image.
Patience and experimentation are key.
Step 7: Using AI Images for Real Projects
AI-generated images are not just for fun. They are widely used in real industries today. You can use them for:
- Blog thumbnails
- Social media posts
- YouTube thumbnails
- Website banners
- Marketing ads
- Product mockups
For example, bloggers often use AI images to create unique featured images that improve click-through rates. Marketers use them to design ad creatives quickly without hiring designers.
This makes AI tools extremely valuable for freelancers and small businesses.
Step 8: Improving Your Results Over Time
As you gain experience, you will naturally get better at writing prompts. You will start understanding how small changes affect the output.
For example, changing “sunset lighting” to “golden hour cinematic lighting” can dramatically improve the mood of your image. Similarly, adding “ultra-detailed, 8K, shallow depth of field” can make images look more professional.
The key is practice. The more you experiment, the better your results become.
Final Thoughts
AI image generation tools have made creativity more accessible than ever before. You no longer need expensive software or advanced design skills to create beautiful visuals. With just a few words, you can bring your imagination to life.
For beginners, the most important thing is to start simple, experiment often, and learn how prompts work. Over time, you will develop your own style and create professional-quality images effortlessly.
Whether you are building a blog, growing a brand, or just exploring creativity, AI image tools are powerful companions that can transform your ideas into reality.
Leave a Reply